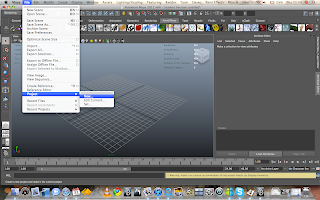
so firstly once maya is open we will want to start a new project , we do this to keep everything organised and professional and makes it to find things easier such as our saved files or our render images because once a project is set up everything we do will get allocated to different folders in the project appropriately. so to start a new project we go to File --> Project --> new.
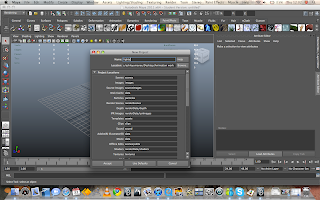
A secondary window will then pop up where you just title your new project i named it "lights" how ever you can name it however you wish you then click use Defaults and then accept. so now that the new project is created we must set it so that whatever we save will now go into that new project folder.
so just go to file --> project --> set then you just click the name of the project you have just created and click ok your project is now set and we can start working in maya
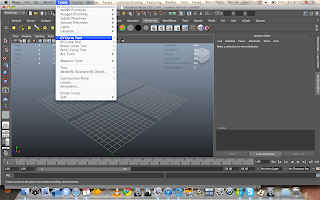
so what we will firstly do is create the set for light so we are going to use the cv curve tool this tool allows use to create a curved line. so go to create and click the cv curve tool you will now get a cross hair crusor which means the tool has been selected now your going to want your curve to look like the one i created that you can see below.
once you have got the shape you click enter to finish it. now if you make a mistake CTRL Z is the undo button and i've learnt we do use this shortcut alot in our time working with maya.
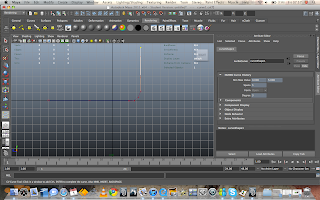
so this is how your curve should look once its completed.
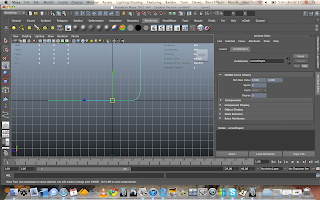
Once the curve is done we are going to move it to the side of the grid and then duplicate it so that the second curve will then go on the other side of the grid, to move the curve once you have selected it click the W button this will result in arrows coming out of the curve these are the move tools. Once you have moved the curve to one side of the grid click the curve and press CTRL D this will duplicate the curve then move the second curve to the other side of the grid.
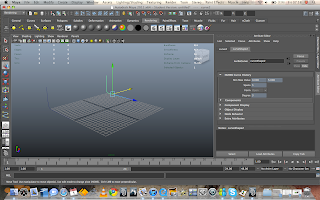
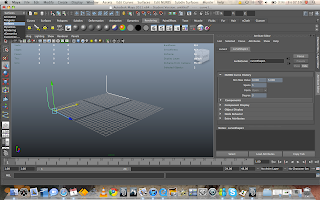
Now that you have two curves either side we are going to loft them this will create a surface inbetween them , firstly change the tab at the top of maya to surfaces , then select both curves and go to surfaces --> loft.
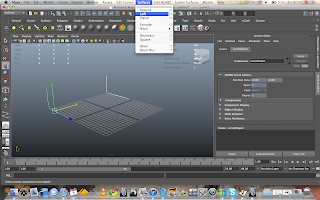
Now that the set is complete we are going to put a polygon sphere into it so that when we animate the lights and take a render we can see shadows and what changing the setting for both the lights and the render will do to it. so to create a polygon sphere just go to create --> Primitive polygons --> sphere
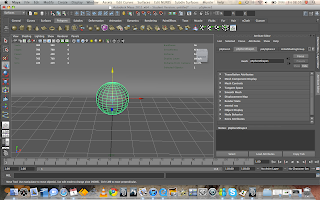
Move the sphere so that its on top of the set as seen below
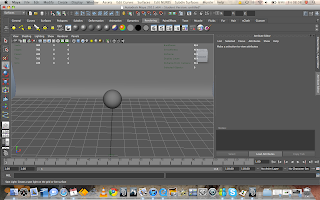
Now that we have the complete set with our prop we begin creating the lights, so to create the lights if you go click on to the rendering tab and select the spotlight. the spotlight will look like this.
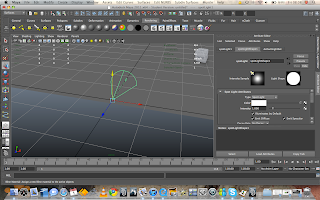
Now that the light is created we are going to put a plane behind it the reason for this is that we are going to use it as a difuser,when we render out our scene we will be using final gather , the reason for using final gather is that it provides within the render a better realism to our lighting to make it look more like a interior scene.
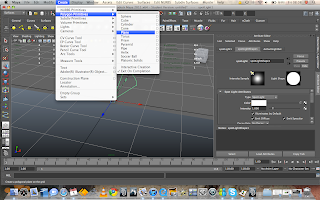
So now rotate the plane and place it just behind the light as seen below
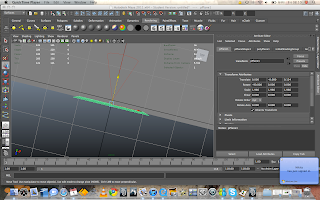
Now that the plane has been placed behind the spotlight we are going to parent it to the spotlight so select the plane then SHIFT select the spotlight and press P this now means that where ever you move the spotlight the plane will also move with it.
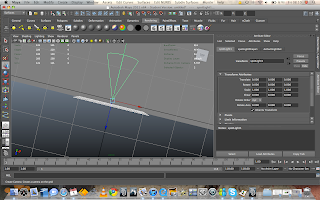
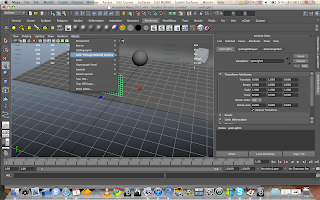
now to move the spotlight into a sensible position to light the scene so firstly we are going to change our perspective so that we are looking through the light instead to have an idea of what we are exactly lighting. to do this select the spotlight first then click panels --> Look through selected camera.
Now that you can see through the camera you can position it how you like we also going to change the settings on the light the light attributes will be on the right hand side of the screen your going to change the penumbra angle to 20 , the penumbra angle when the value is raised causes the light to lose intensity around the sides giving a softer lighting.
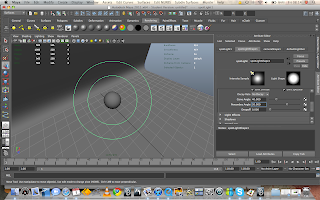
aswell as this if you scroll down the light attributes till you get to shadows , click that and click on ray trace shadows and turn it on as well as going into the mental ray tap and clicking on the area light.
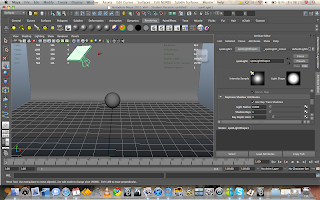
Now that the light setting are complete we need to assign a shader onto the plane so to do this hold right click on the plane and go down to Assign favorite material --> surface shader
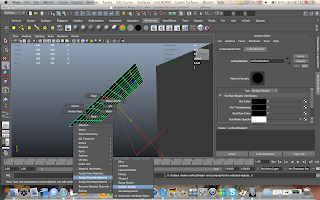
Now with the surface shader on change in the attributes box the out color of the shader from black to white.
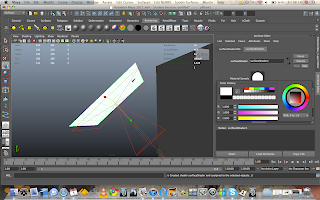
Once you have completed you will then duplicate the light by pressing CTRL D after selecting the light and then moving it into the same or similar position as shown below.
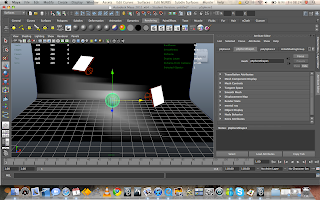
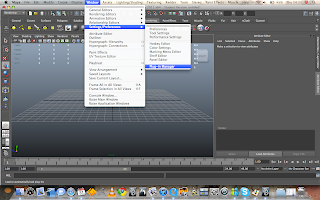
Now that the basic lighting is in place we can take a render firstly we need to check if mental ray is on so to do this we go to Windows --> Setting/Preferences --> Plug-in manager
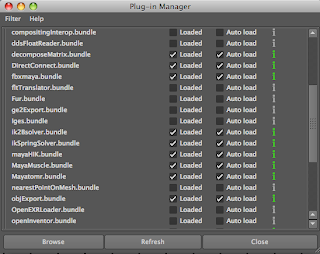
This will cause a secondary window to appear and check if maya mental ray is loaded or on so scroll down and you will see "Mayatomr.bundle and just make sure both boxes next to it are ticked.
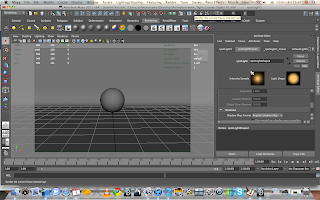
So now just have to take a render so we can have a look at the light
now this may happen that when you render it out you will see that it used maya software to render it so you just have to change it to mental ray and re-render and from that you will see a significant change.
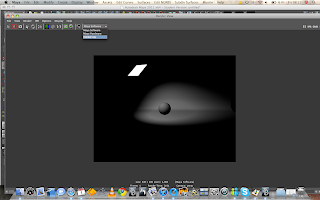
So this is the image i rendered out with mental ray and i got this image.
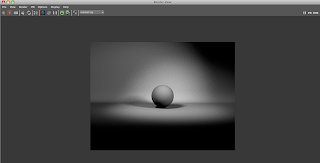
so now that the lights are set we are going to change the color of them and key them into the timeline so that we get a start off point for when the animation begins.
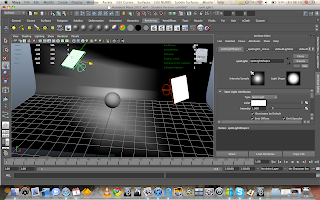
so now you select the lights and click on the color swatch and change the color to what you want changing both the lights to different colors.
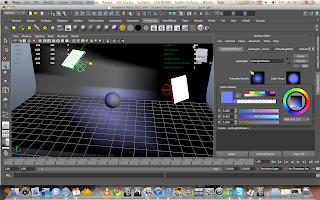
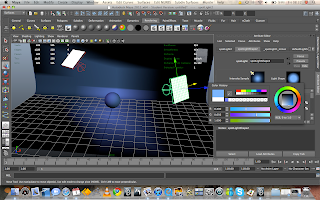
Now that the colors have changed right click next to the color section in the light attributes and select set key before this however make sure that in your time line your set to the beginning.
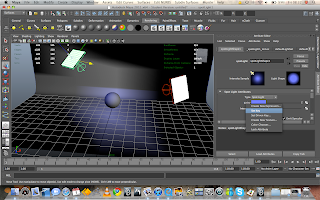
so here is a rendered image of the blue lights i've done .
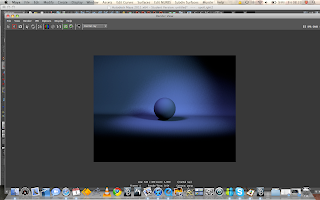
So now you do the same thing again but making sure you have moved the time line so that when you do set the new light colours you will see the change over the period of time you have set it too.
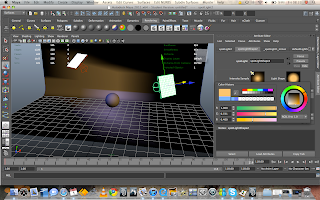
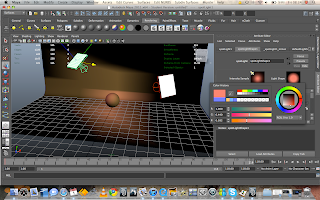
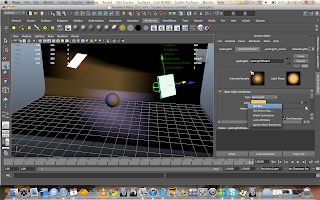
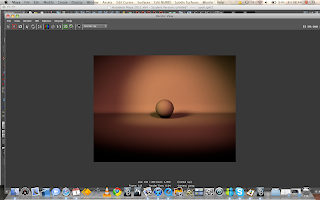
Now the same way we keyed the light colours we will do for the spotlights transformation so that we can make them move over a period of time too.
So when you select the spot light for the beginning timeline you will see in the channel box all the movements and rotations it can make you shift select all of them and then hold right click and click key selected that will key in all the movements you have chose then same as before with the lights change the time line then move the lights into the position you want and key select them again and there you will have your animated lights.
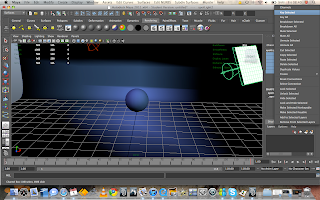
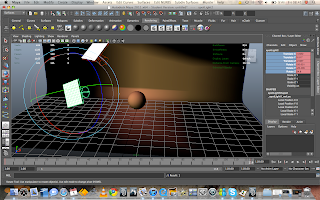
so now comes fully rendering out your animated lights firstly we will have to go into render settings so it will be the clap icon with the two dots on the left of it next to the render single frame button. so in the settings your changing render using to mental ray then in the common section your changing your image format to either tiff or targa and Frame/animation ext to name .ext and frame padding to two if you frames timeline goes into 3 digits so my timeline ran up to 120 so my frame padding was 2.
In your frame range make sure you type in the end frame your rendering out too and then go to the indirect lighting tab and click on the final gather.
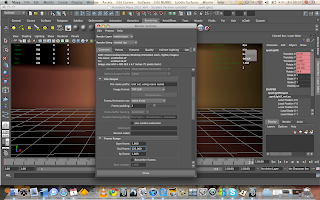
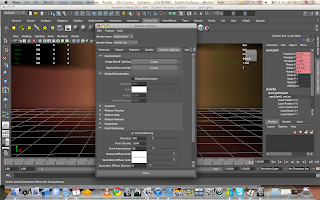
Now after all the render settings have been changed you will batch render it. to do that you go to render --> batch render.
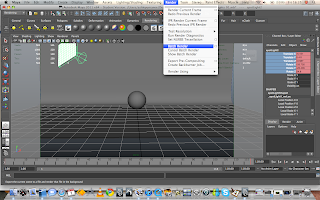
Once your batch render is finished if you have quicktime pro or Fcheck you go to file and open sequence then click one of the rendered images and it will convert it into a movie for you to save as.
this was the one i made hope you enjoyed the tutorial.
http://www.youtube.com/watch?v=qNHv5qSs5WU